
Table of Contents Show
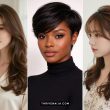
A layered bob is one of those haircuts that just works. It adds movement, frames your face beautifully, and gives you that bounce that makes people ask who did your hair. For Black women, layers can do so much depending on your texture—they can show off your natural curl pattern, make styling easier, or give a relaxed style that perfect shape.
Tired of Natural Hair Breakage, Shrinkage & Tangles?
If your natural hair is always breaking, shrinking up, or taking forever to detangle, this ebook is for you. Learn simple ways to stop the damage and make wash days easier.
Whether you wear your hair natural, texlaxed, or with a silk press, layers change the whole game. This list has fifteen different ways to rock a layered bob, from low-maintenance wash-and-gos to sleek night-out styles.
By the end, you will probably want to book an appointment with your stylist.
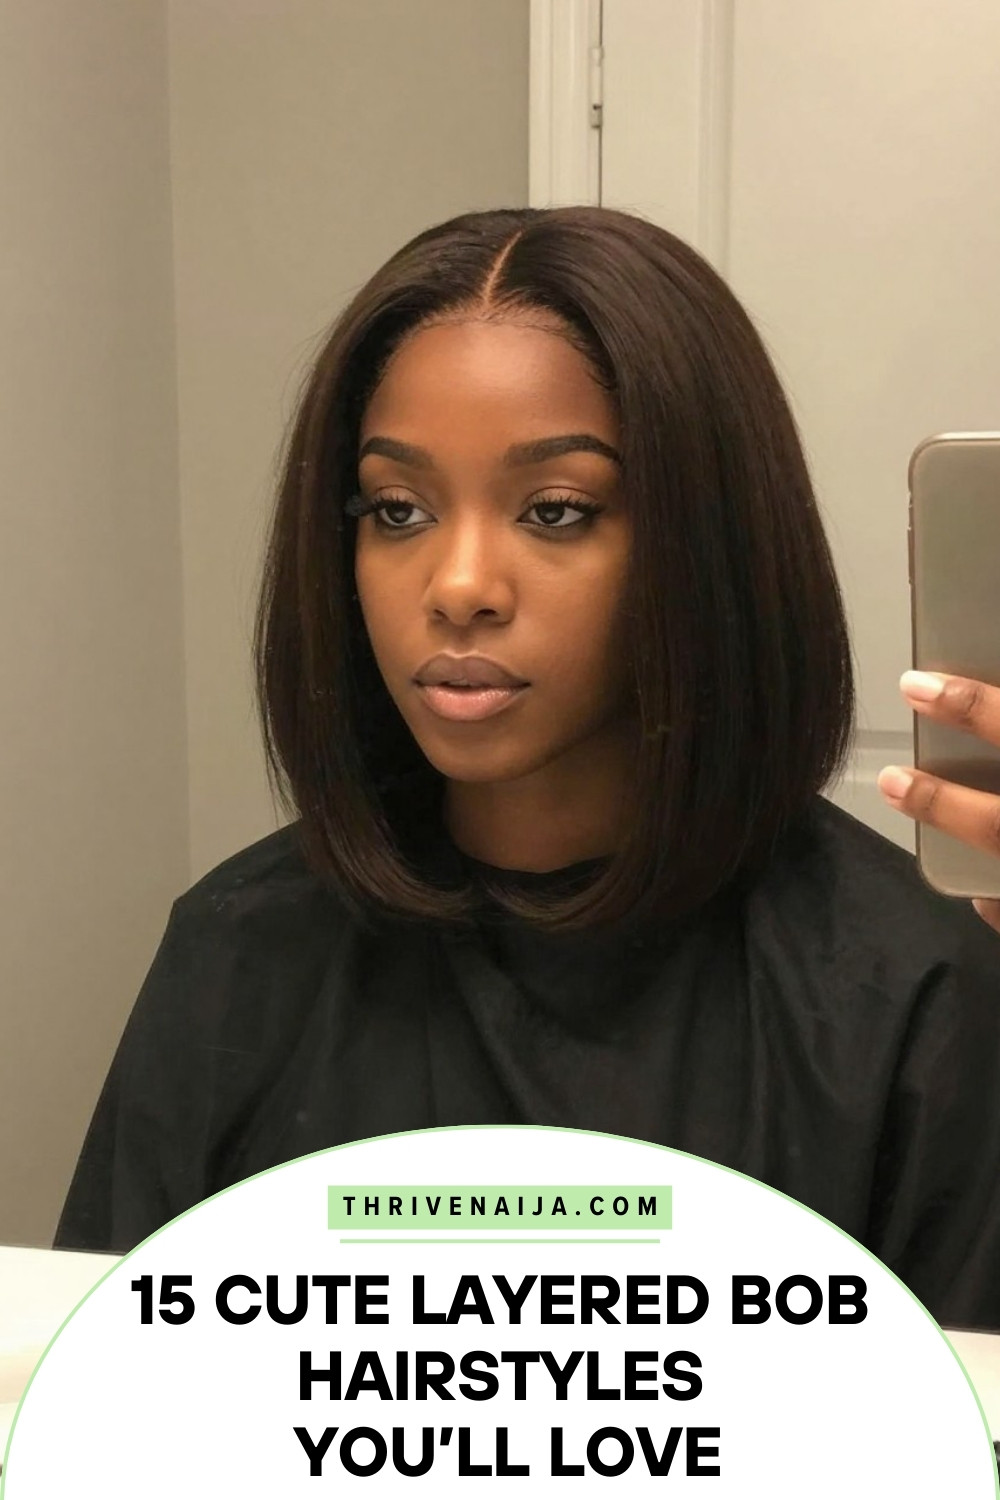
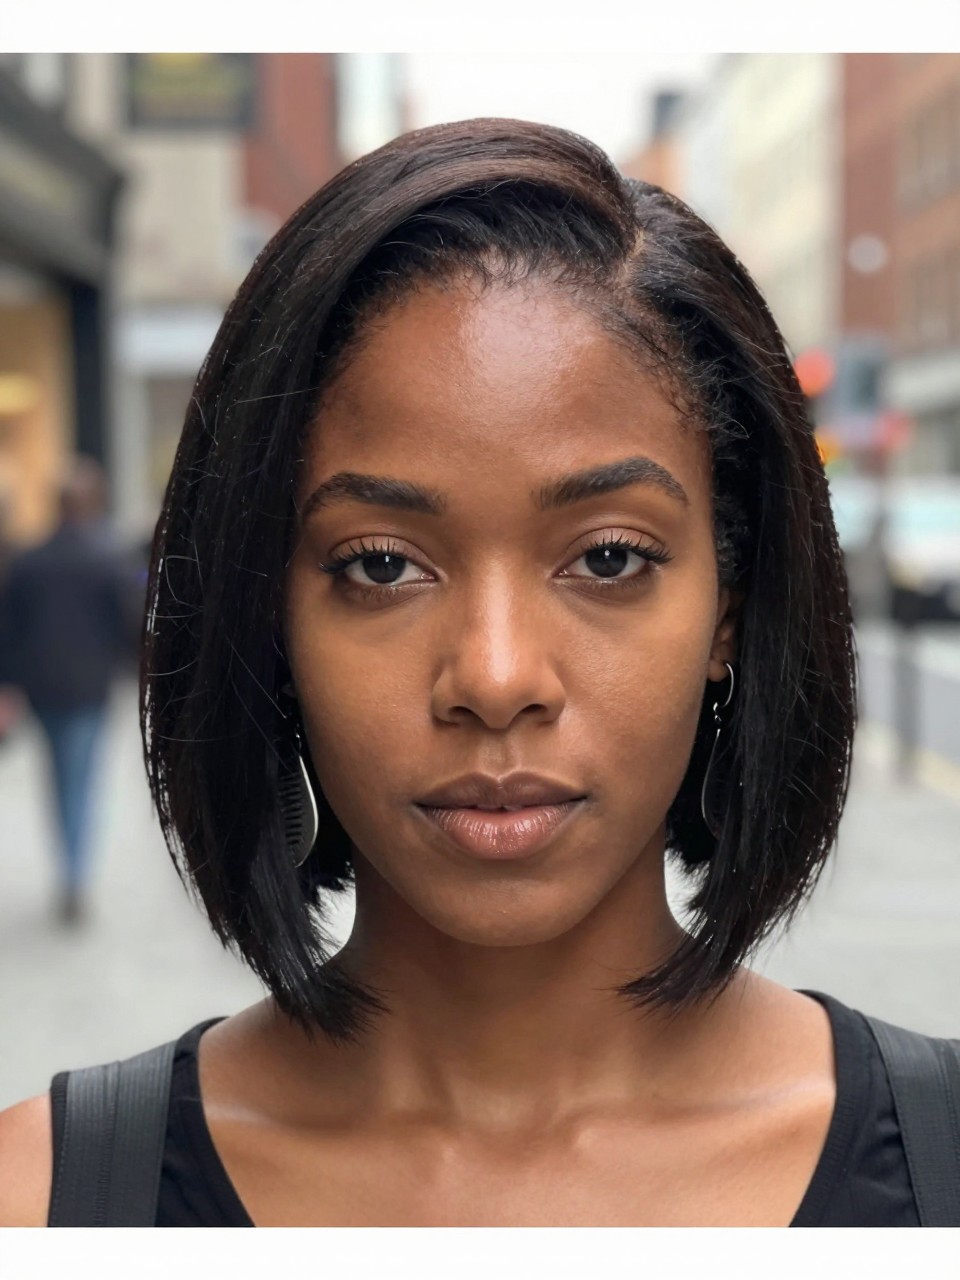
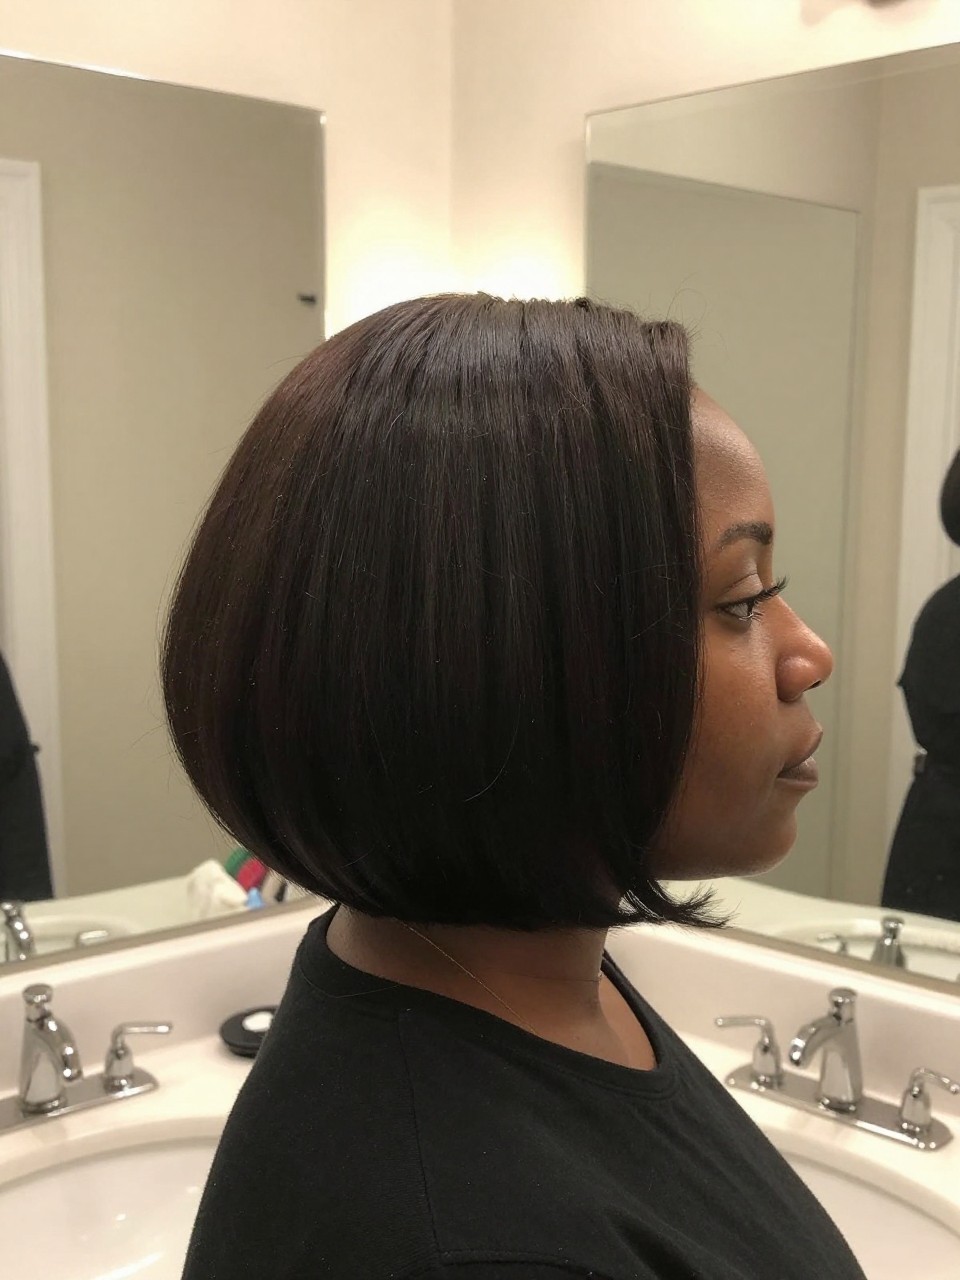
1. Classic Chin-Length Bob with Face-Framing Layers

This is the bob that started it all for a reason. It hits right at the chin, with soft layers around the face that highlight your cheekbones and jawline. It is polished without trying too hard and works for both casual days and dressy occasions. Women with oval or heart-shaped faces will especially love how it balances everything out.
What you need:
- Flat iron (ceramic, with adjustable heat)
- Heat protectant serum
- Wide-tooth comb
- Shine spray
- Hair clips for sectioning
How to style it:
- Step 1: Apply heat protectant to clean, dry hair and section it into four quadrants, clipping each one.
- Step 2: Starting at the nape, take small sections and run the flat iron from root to tip in one smooth motion.
- Step 3: As you work your way up, make sure the face-framing pieces are turned slightly under or away, whatever you prefer.
- Step 4: Once all sections are done, shake it out with your fingers and mist with shine spray for that glossy finish.
2. TWA with Defined Curls
The teeny weeny afro is cute on its own, but adding layers and definition takes it to another level. This style keeps the length short (usually one to three inches) while using product to make each curl pop individually. It is low-maintenance in terms of styling time but high-impact in how good it looks. Perfect for hot summer days or anyone who wants to give their hair a break from manipulation.
What you need:
- Leave-in conditioner spray
- Curl defining cream (something with good slip)
- Edge control (for the hairline)
- Satin scarf (to lay edges at night)
- Spray bottle with water
How to style it:
- Step 1: Start with damp hair and spray leave-in conditioner all over until hair is evenly moist.
- Step 2: Take small sections and apply curl cream using the shingling method (smoothing it through then shaking at the ends).
- Step 3: Use edge control on your hairline and tie down with a satin scarf for ten minutes while the rest air dries.
- Step 4: Once dry, gently fluff at the roots for volume and go.
3. Sleek Inverted Bob
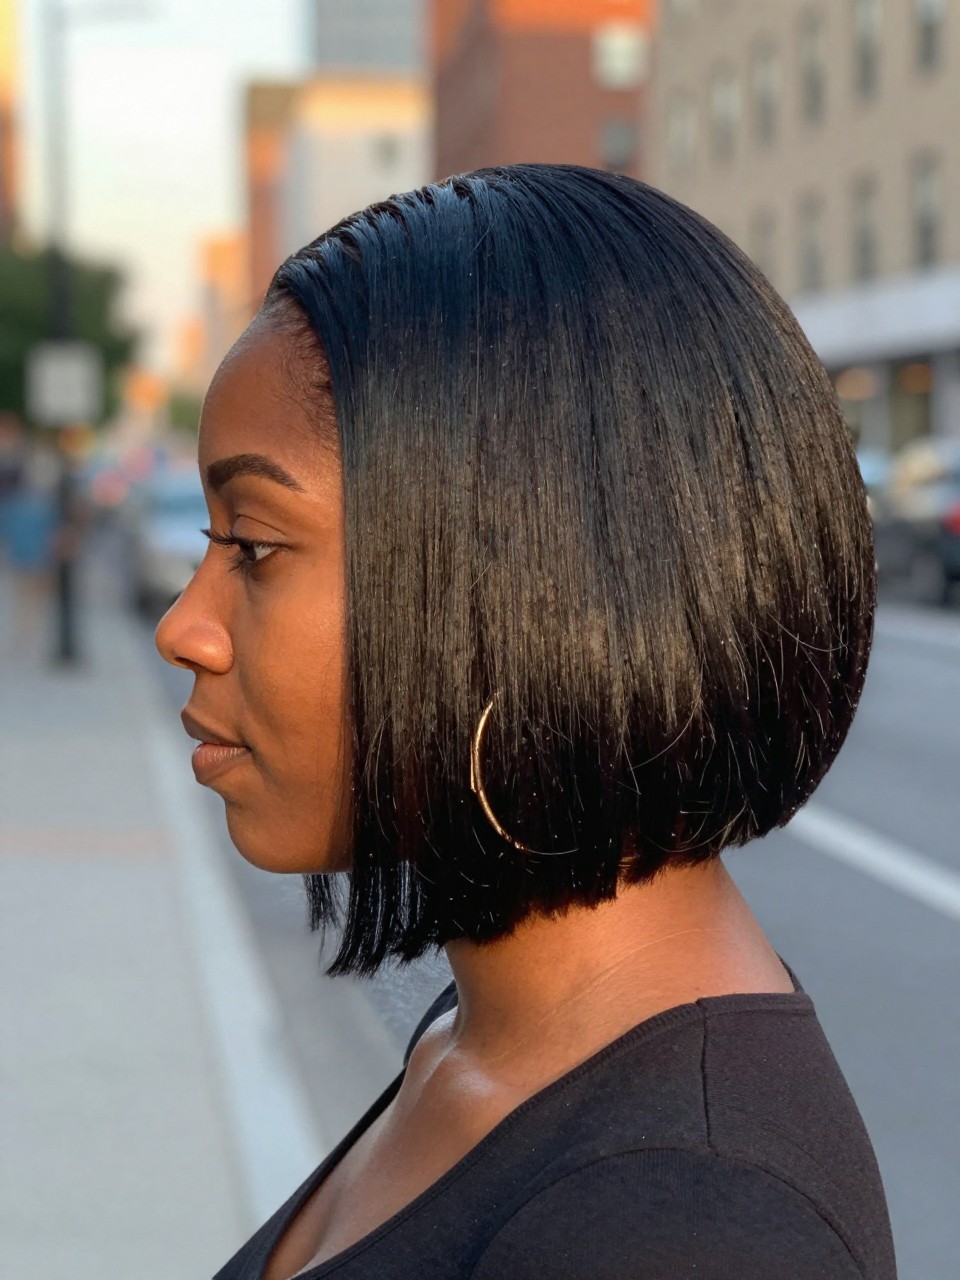
This is the bob that is shorter in the back and longer in the front, and it is basically magic for creating the illusion of more volume. The layers are cut to stack in the back while the front pieces gradually get longer, sweeping toward your face. It looks incredibly sharp when straightened and moves beautifully when you walk.
What you need:
- Flat iron (narrow plate for precision)
- Smoothing serum (to fight frizz)
- Rat-tail comb (for parting)
- Hair oil (for shine)
- Sectioning clips
How to style it:
- Step 1: Apply smoothing serum to dry hair and comb through to distribute evenly.
- Step 2: Section hair into top and bottom halves, starting with the bottom (the shorter stacked part).
- Step 3: Flat iron in small sections, making sure the back curves under and the front angles toward your face.
- Step 4: Finish with a tiny bit of hair oil rubbed between your palms and patted over the surface for mirror shine.
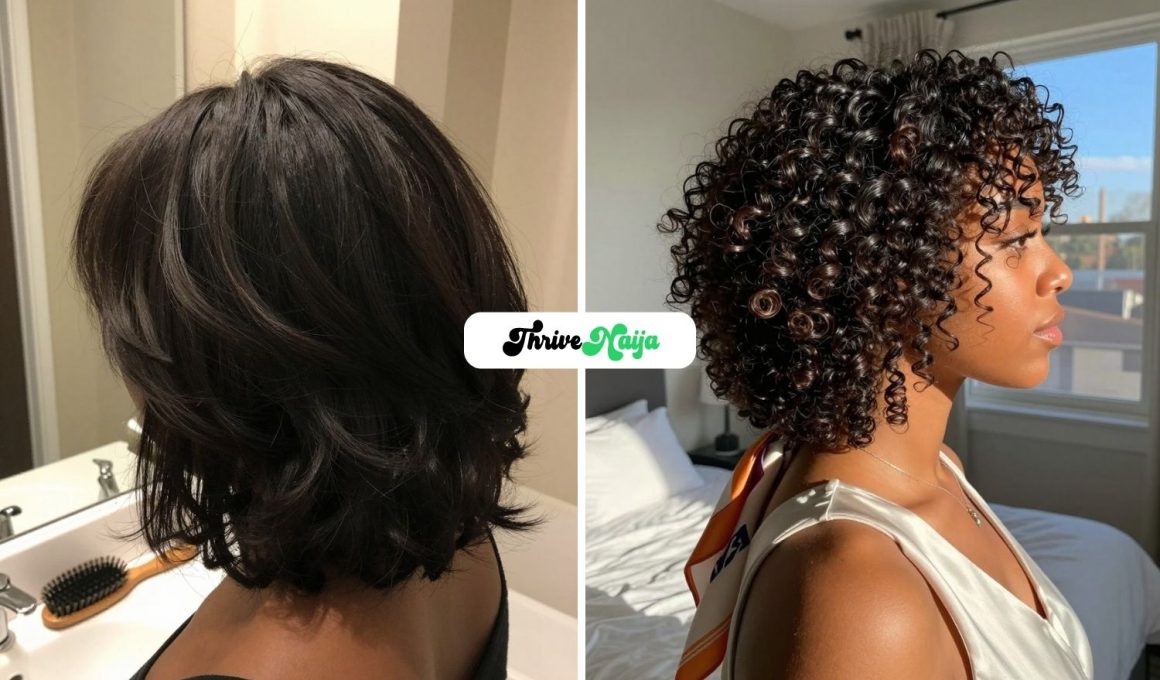
4. Curly Bob with Side Part
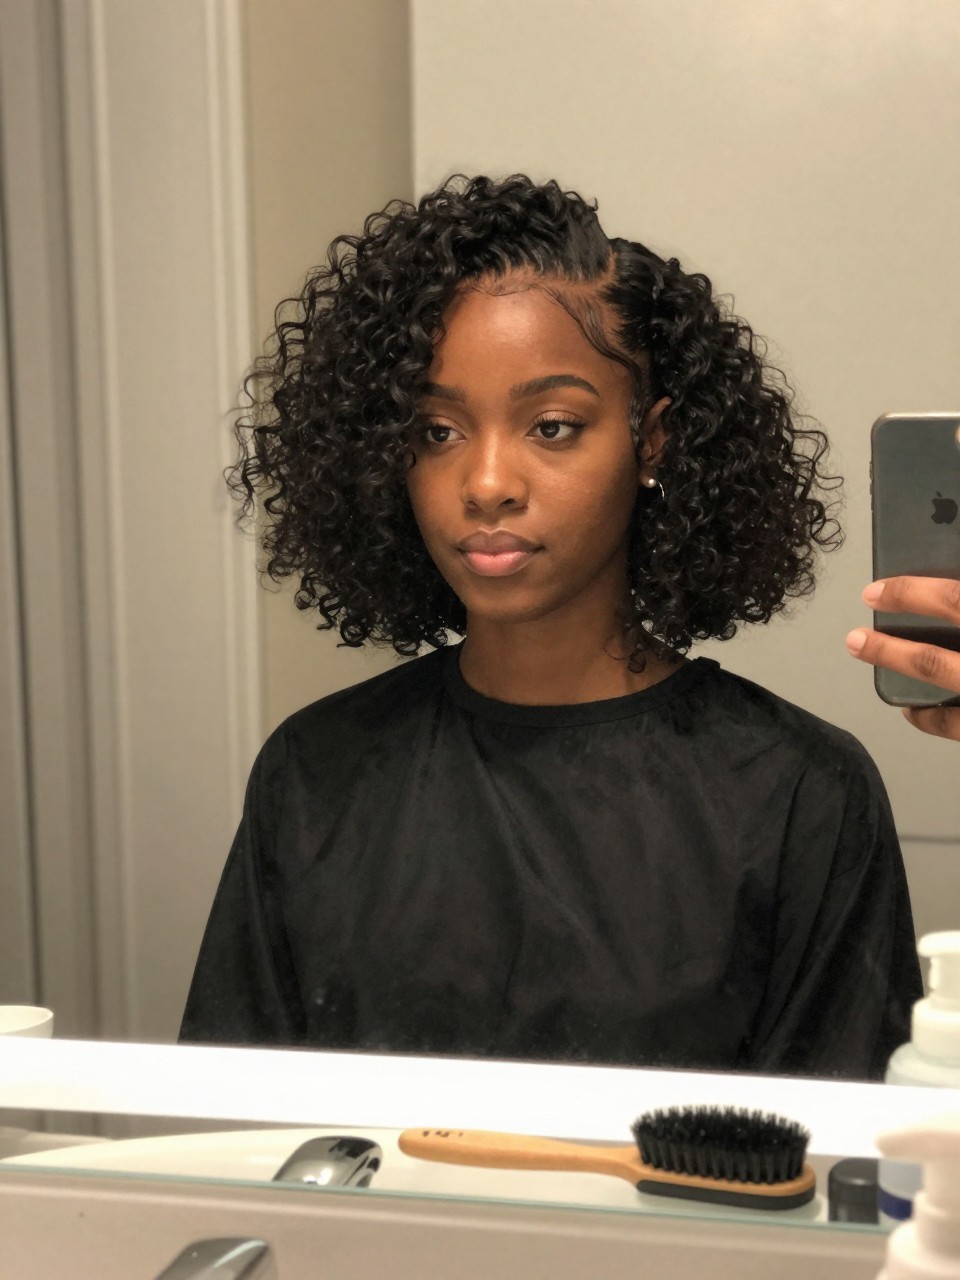
Sometimes the simplest change makes the biggest difference. Taking your naturally curly bob and switching the part from the middle to the deep side instantly adds volume and changes how your layers fall. It takes two seconds but gives you a whole new look. This is the style for days when you want to feel different without any actual work.
What you need:
- Wide-tooth comb (or just your finger)
- Curl refresher spray
- Edge control
- Satin scarf (optional for laying edges)
How to style it:
- Step 1: Spritz curl refresher spray throughout to wake up any tired curls.
- Step 2: Use your finger to create a deep side part starting at the arch of your eyebrow.
- Step 3: Apply edge control to your hairline and use a satin scarf or your hands to smooth it down.
- Step 4: Fluff the curls on the larger side for volume and let the smaller side lay flatter against your head.
5. Bob with Bangs
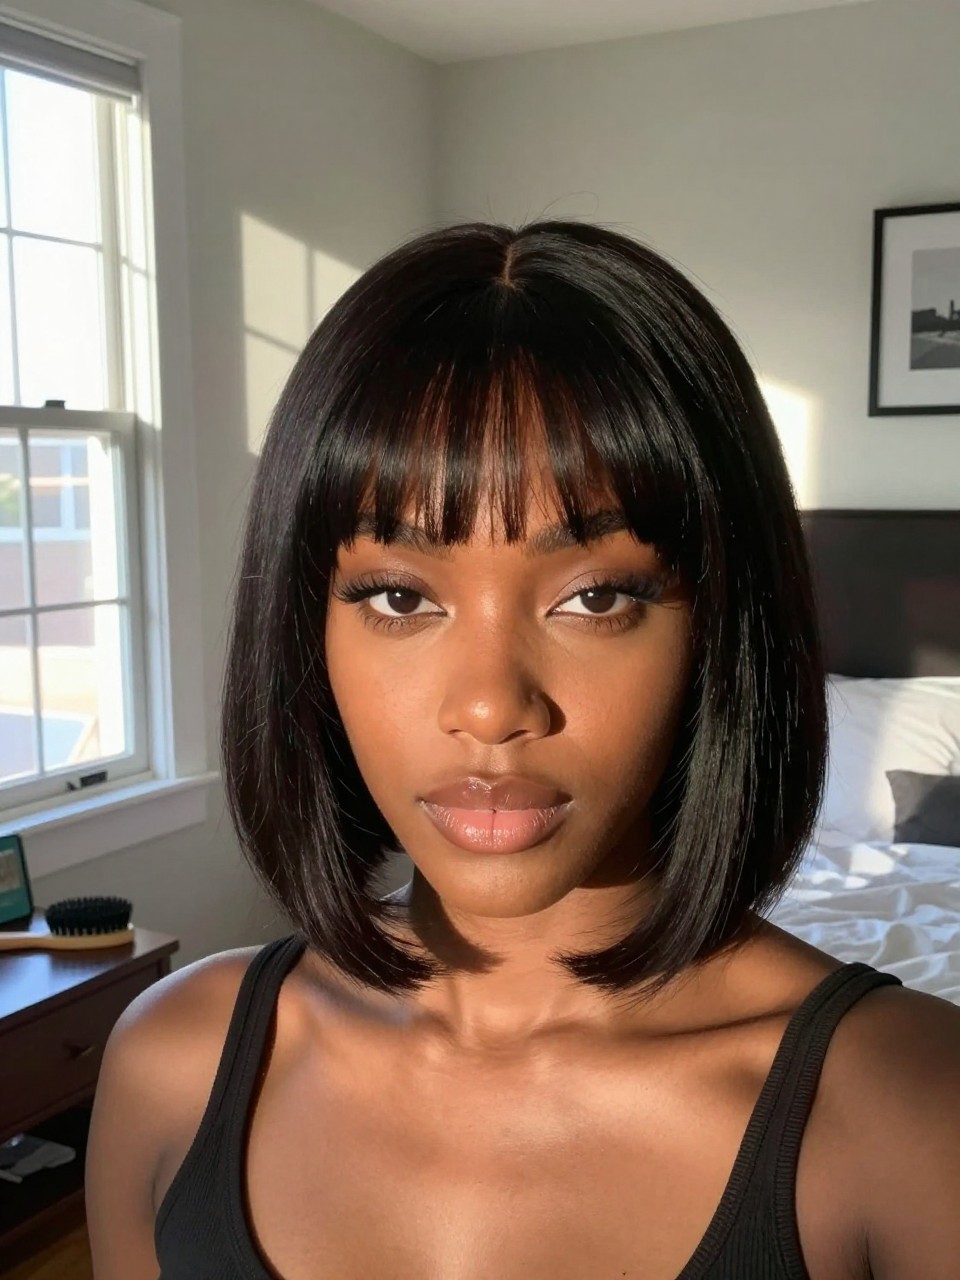
Adding bangs to a layered bob changes your whole face. It draws attention to your eyes and can soften strong features or add structure to rounder faces. You can do wispy bangs that blend into the layers, or go for blunt, statement bangs that sit right above your brows. Either way, it is a bold look that frames everything beautifully.
What you need:
- Flat iron (or roller for curly bangs)
- Small round brush (if blow drying)
- Hair clips (to separate bangs)
- Light-hold hairspray
- Edge control (for the hairline)
How to style it:
- Step 1: Section off your bangs from the rest of your hair and clip the rest back.
- Step 2: If wearing straight, use the flat iron in small sections, turning slightly under at the ends. If curly, define with your fingers and product.
- Step 3: Blend the bangs into the side layers by letting them fall naturally together.
- Step 4: Use edge control on your temples and mist everything lightly with hairspray so the bangs stay where you put them.
6. Asymmetrical Bob
This is for when you want something edgy and modern. One side is cut shorter, usually grazing the jaw, while the other side is longer, sometimes reaching the collarbone. The dramatic difference between the two sides makes a statement and works especially well with straight or slightly waved textures. It is bold, confident, and turns heads.
What you need:
- Flat iron (for sleek finish)
- Smoothing cream
- Shine spray
- Sectioning clips
- Hair oil
How to style it:
- Step 1: Apply smoothing cream to dry hair and comb through to ensure even distribution.
- Step 2: Section hair and flat iron in small pieces, paying extra attention to the angle of the cut.
- Step 3: Make sure the shorter side lays smoothly against your face and the longer side has movement.
- Step 4: Finish with shine spray and a tiny drop of oil on the ends for separation.
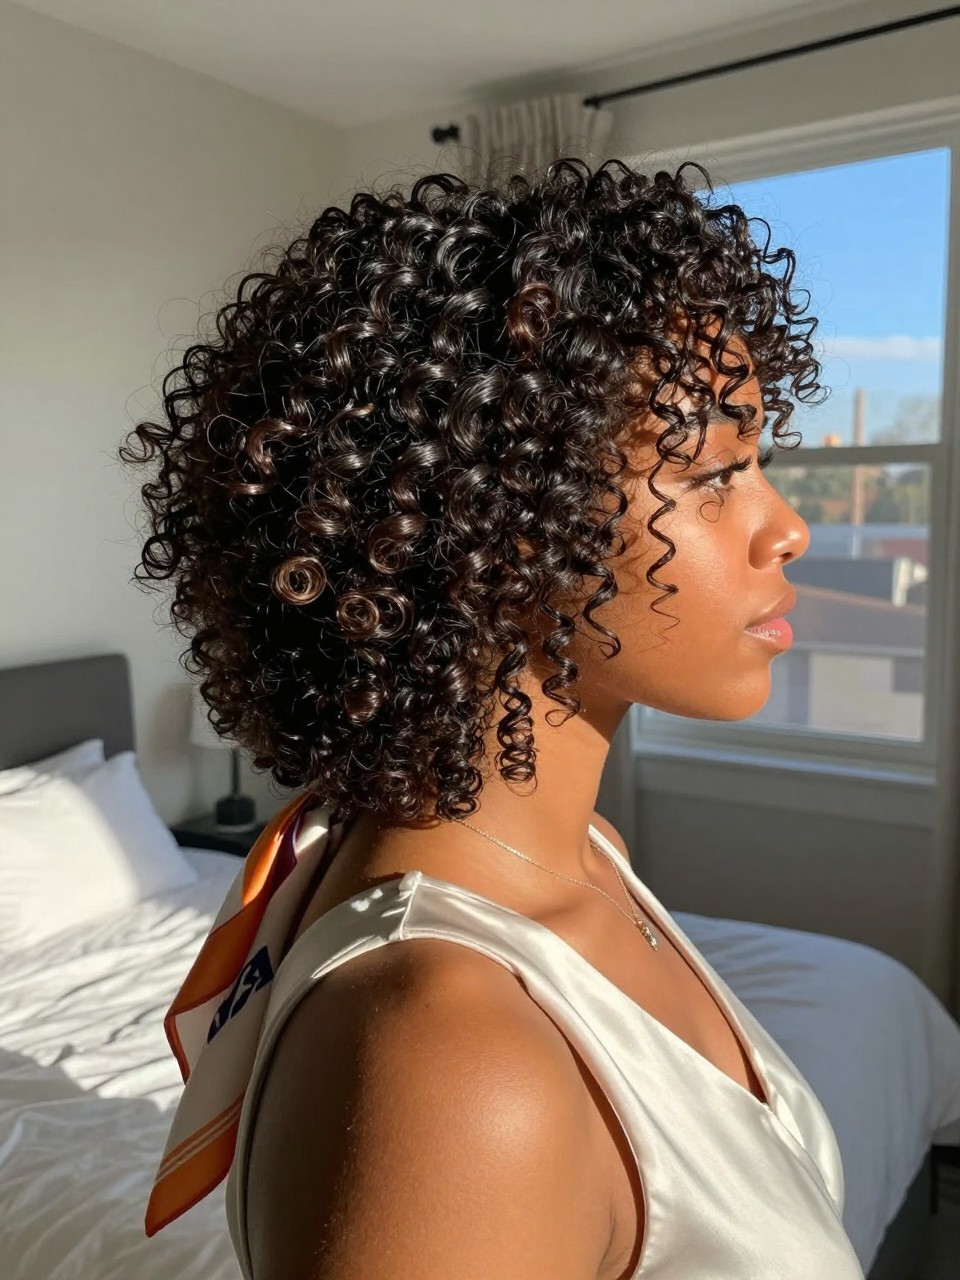
7. Natural Bob with Shrinkage
This is the bob that looks completely different wet versus dry, and that is the beauty of it. When you have natural hair, shrinkage is real, and this style embraces it. The layers are cut while hair is stretched so that when it shrinks up, the shape is still perfect. You get this compact, rounded bob that is full of springy coils and requires zero heat.
What you need:
- Leave-in conditioner
- Curl cream or butter
- Spray bottle with water
- Diffuser attachment (optional, for faster drying)
- Satin scarf (for nighttime)
How to style it:
- Step 1: Start with soaking wet hair and apply leave-in, then curl cream using the raking method.
- Step 2: Use your fingers or a wide-tooth comb to shape the bob as it dries, encouraging curls to clump.
- Step 3: If using a diffuser, hover it around your head on low heat to speed things up without disturbing the curls.
- Step 4: Once completely dry, gently shake at the roots and maybe pull a few front pieces for face-framing.
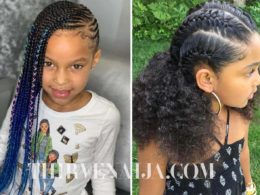
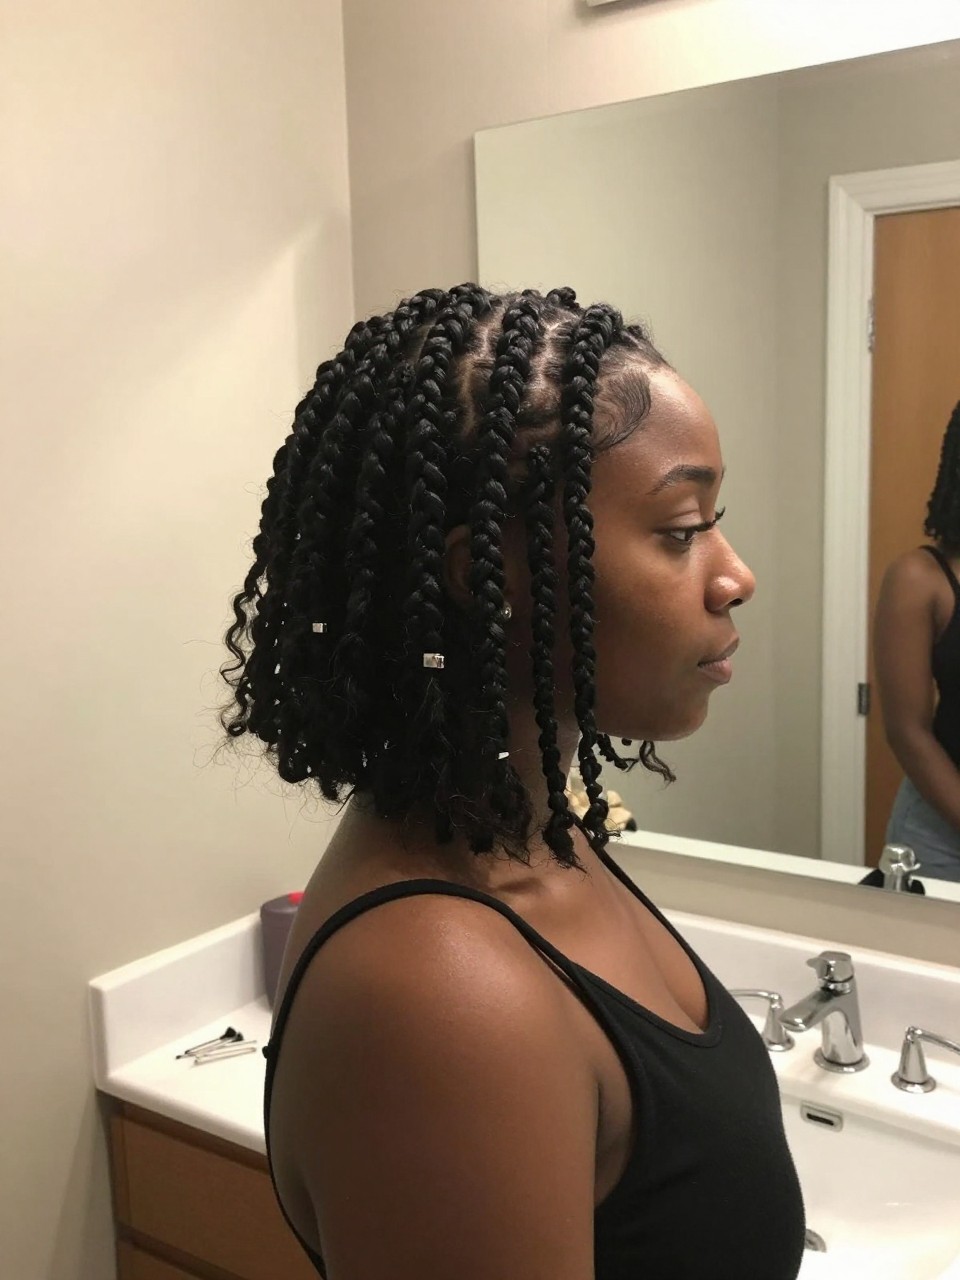
8. Bob with Cornrows or Braids
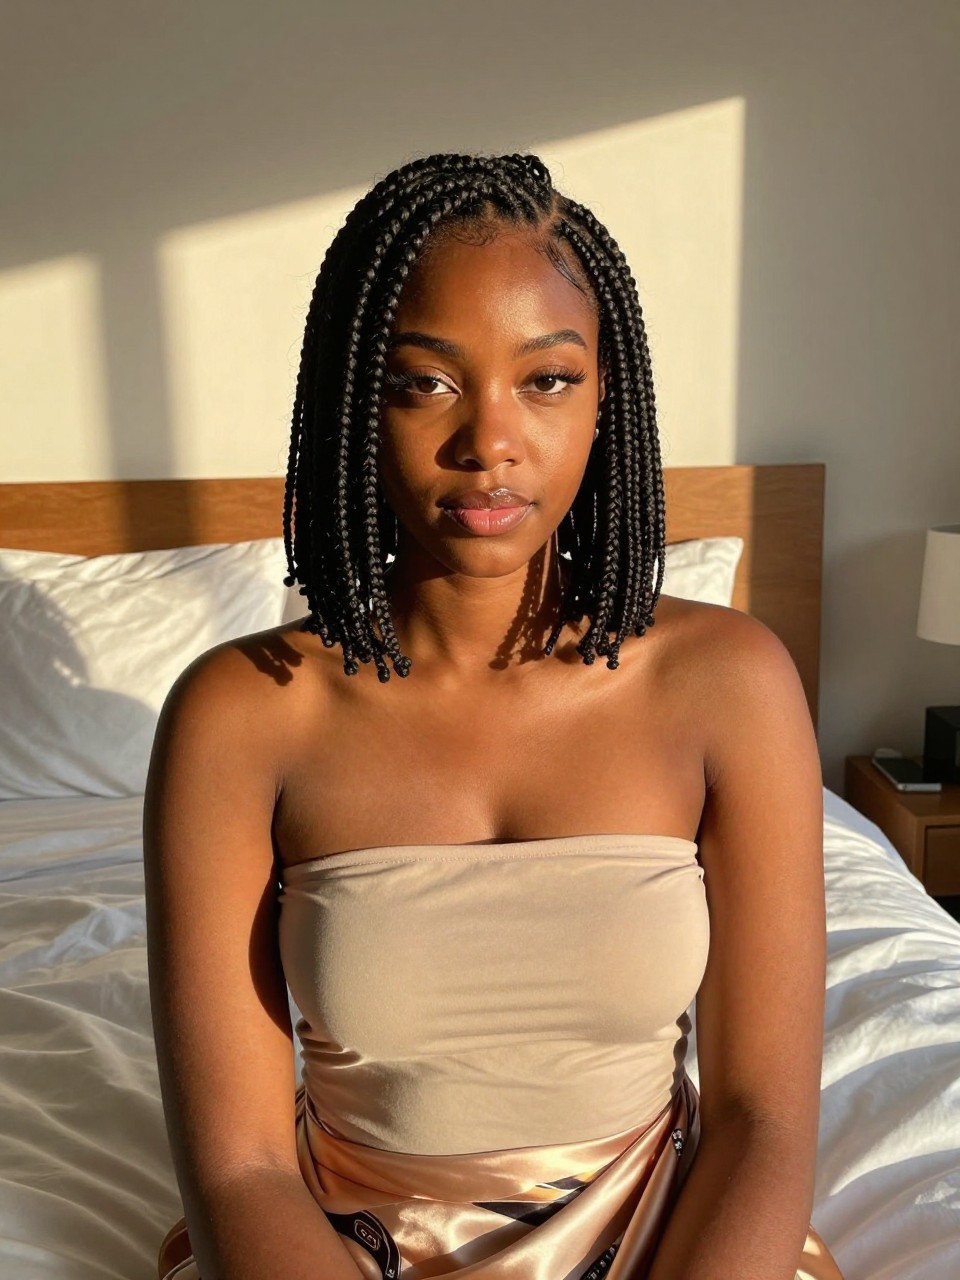
This is a protective style that also looks incredibly cute. The front or sides are braided down in cornrows while the rest of the bob hangs free in its layered glory. It keeps hair off your face, gives you a break from styling the front, and adds visual interest. You can do two braids going back, zigzag parts, or even feed-in braids at the temples.
What you need:
- Edge control (for sleek parts)
- Holding spray (for braids)
- Small hair elastics (if needed)
- Satin scarf (to lay edges)
- Rat-tail comb (for parting)
How to style it:
- Step 1: Decide where you want the braids (usually around the hairline or temples) and create clean parts with the rat-tail comb.
- Step 2: Apply edge control along the parts to keep them sleek, then braid each section smoothly back.
- Step 3: Secure the ends of the braids with small elastics if they don’t tuck under naturally.
- Step 4: Fluff the loose bob portion and make sure the braids blend into the layers. Tie edges down with a scarf for a few minutes.
9. Bouncy Blowout Bob

This is the style that makes you want to flip your hair back and forth. Using a round brush and dryer, you stretch the hair while adding volume and movement at the ends. The layers catch the light and bounce with every step. It is perfect for date night, job interviews, or any time you want to feel like a million bucks.
What you need:
- Round brush (medium to large size)
- Blow dryer with concentrator nozzle
- Volumizing mousse
- Heat protectant
- Hair clips (for sectioning)
How to style it:
- Step 1: On damp hair, apply heat protectant and mousse from roots to ends, then rough dry until about 80% dry.
- Step 2: Section hair and use the round brush to pull each section taut while directing heat downward, wrapping ends under at the last second.
- Step 3: Let each section cool in the brush for a few seconds before releasing for maximum bounce.
- Step 4: Once all sections are done, flip your head over and shake, then arrange the layers with your fingers.
10. Bob with Subtle Highlights
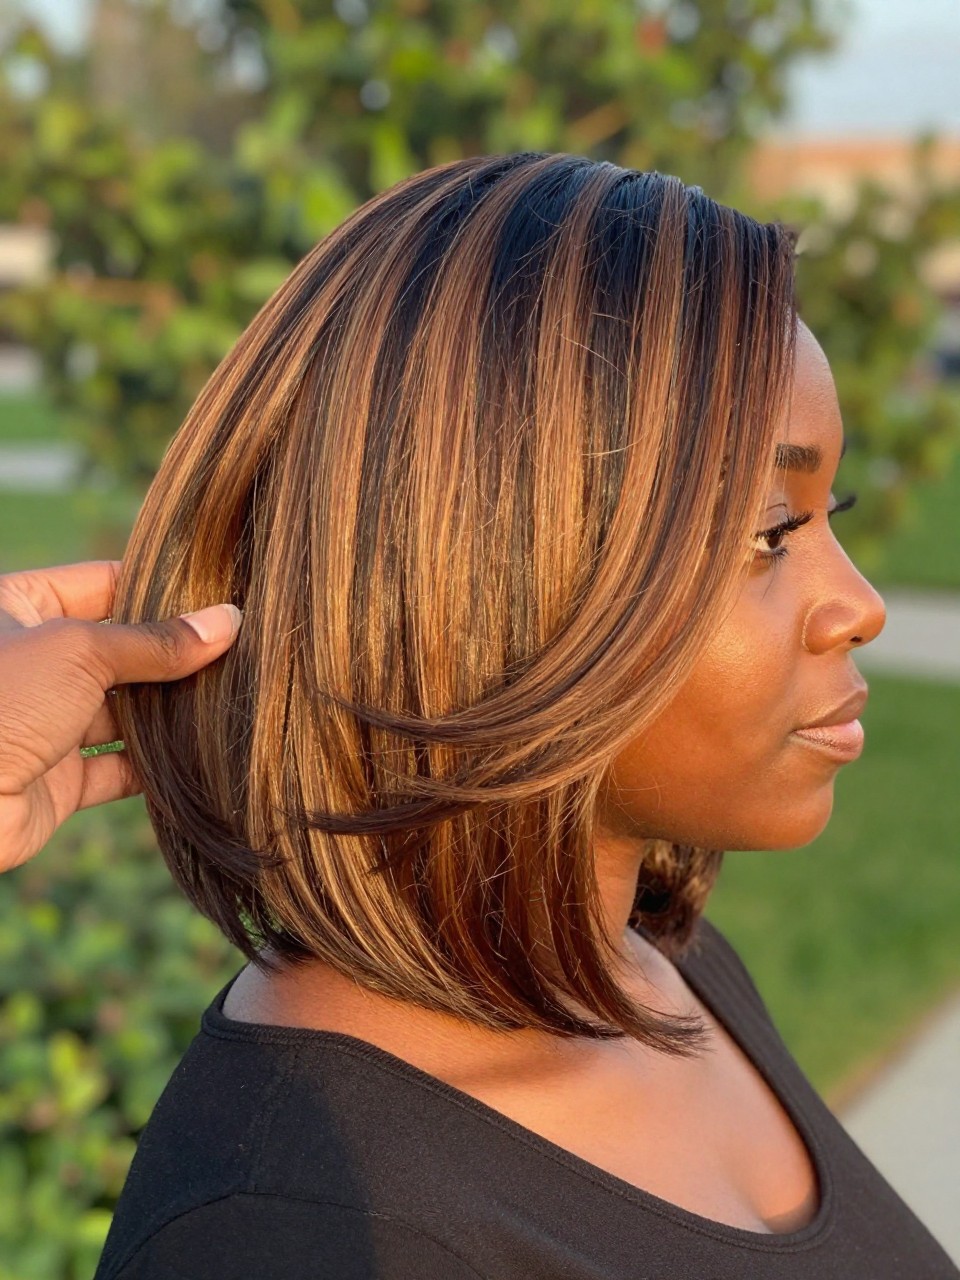
Adding color to a layered bob makes the layers actually visible. When you add subtle highlights (caramel, honey, or even burgundy), the dimension shows off the cut in a way that one flat color cannot. The light catches the different shades and makes your hair look fuller and more textured. It is an upgrade without changing your actual style.
What you need:
- Purple shampoo (if highlights are blonde/light)
- Deep conditioner
- Heat protectant
- Shine spray
- Wide-tooth comb
How to style it:
- Step 1: Wash with color-safe products and deep condition to keep highlights from looking brassy.
- Step 2: Apply heat protectant and style as usual (straight, curly, or blown out).
- Step 3: Pay attention to how the light hits the different shades and arrange layers to show off the dimension.
- Step 4: Finish with shine spray to make the highlights pop even more.
11. Pineapple Bob (Curly Top, Tapered Sides)
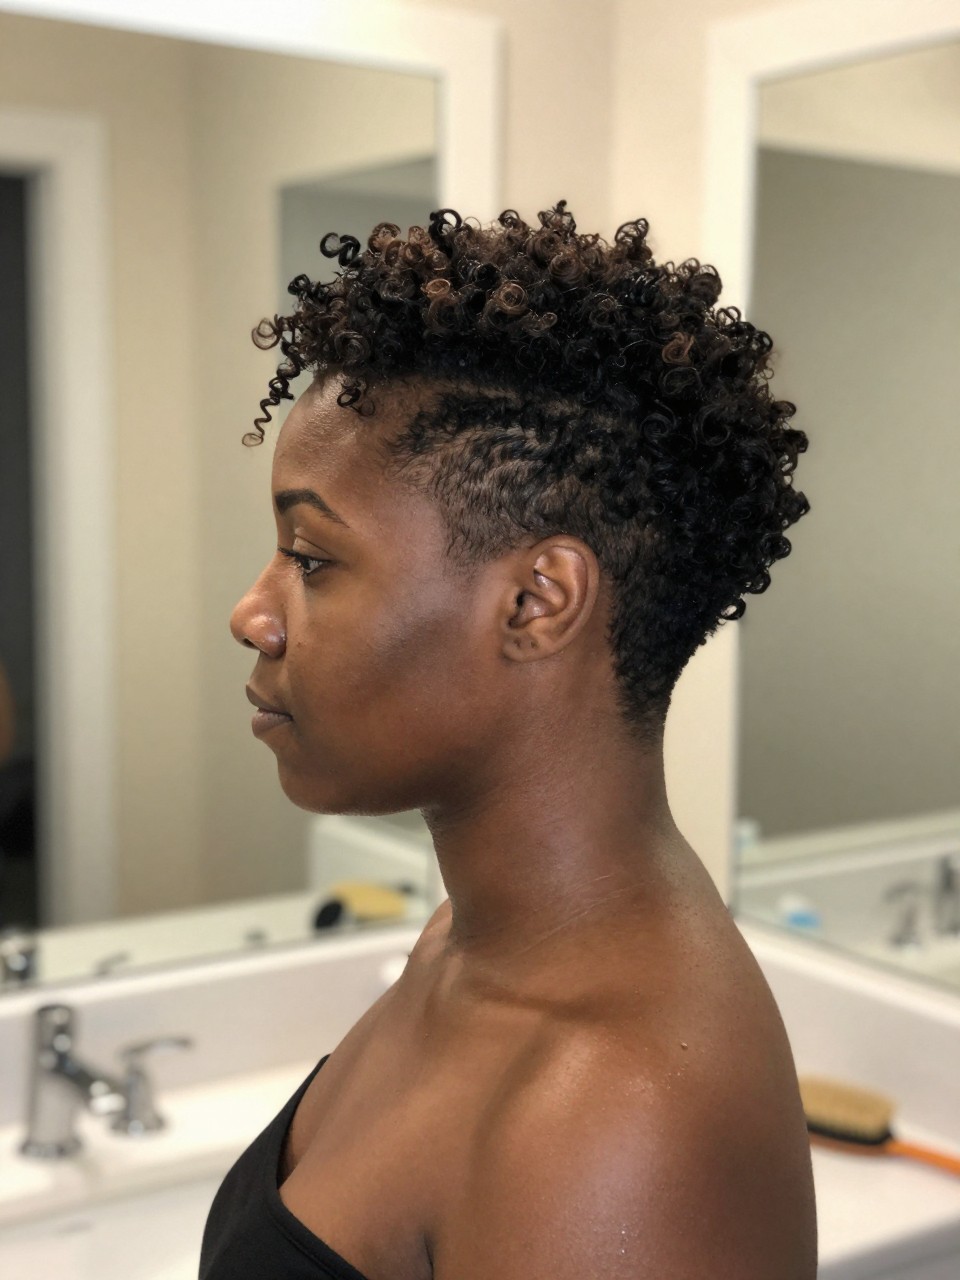
This style gives you volume on top with shorter, tapered sides and back. It is like a mini-mohawk but softer and more wearable. The top is left longer and curly while the sides are clipped close or faded. It is edgy, modern, and perfect for showing off your curl pattern while keeping things cool and lightweight.
What you need:
- Curl defining cream (for the top)
- Edge control (for the hairline and tapered edges)
- Satin scarf (to lay edges)
- Spray bottle (for refreshing)
- Clippers (if maintaining at home, otherwise see your barber)
How to style it:
- Step 1: Make sure the tapered sides are freshly cut or shaped. Apply edge control along the hairline and side edges.
- Step 2: On the curly top, apply curl cream to damp hair and define with your fingers or a Denman brush.
- Step 3: Let the top air dry or diffuse, then gently separate curls for volume.
- Step 4: Use a satin scarf to lay the edges flat against the tapered sides for a clean finish.
12. Wet Look Bob
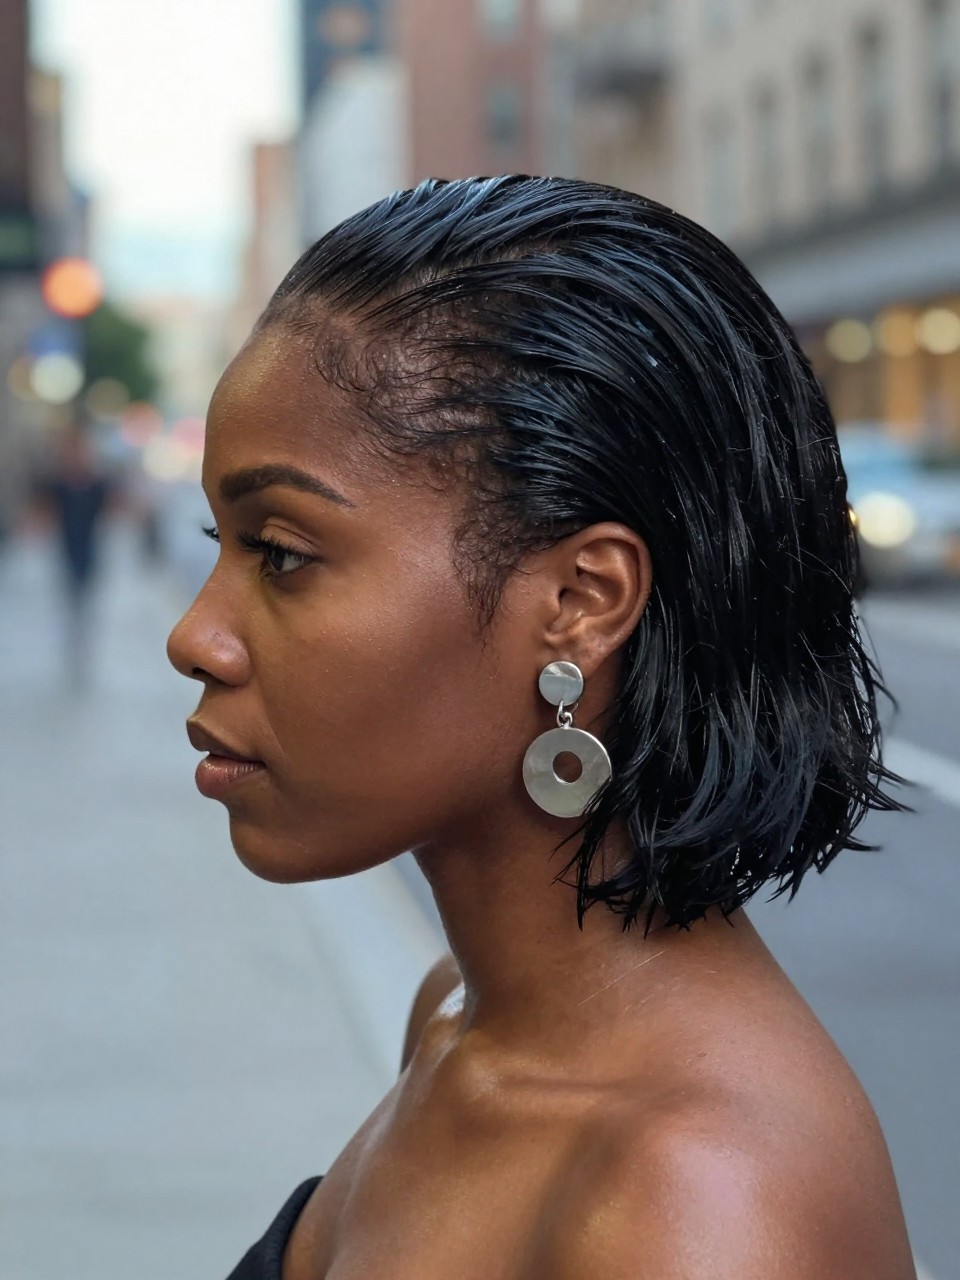
This is a high-fashion style that is surprisingly easy to pull off. It looks like you just stepped out of the shower (in a chic way) with hair slicked back or to the side, showing off the shape of the bob and the layers underneath. It is perfect for events where you want to be polished but different, and it keeps every single hair in place.
What you need:
- Strong-hold gel (edge control or styling gel)
- Wide-tooth comb (for even distribution)
- Hair clips (if slicking back)
- Shine spray (optional, for extra gloss)
- Satin scarf (to smooth while setting)
How to style it:
- Step 1: Apply gel to damp or dry hair section by section, combing through to ensure even coverage.
- Step 2: Decide on your direction (slicked straight back, side part, or full sweep) and comb hair into place.
- Step 3: Use a satin scarf to wrap your head for 10-15 minutes while the gel sets and smooths everything down.
- Step 4: Remove scarf and do not touch. If you want extra shine, mist very lightly with shine spray.
13. Bob with Flexi Rod Set
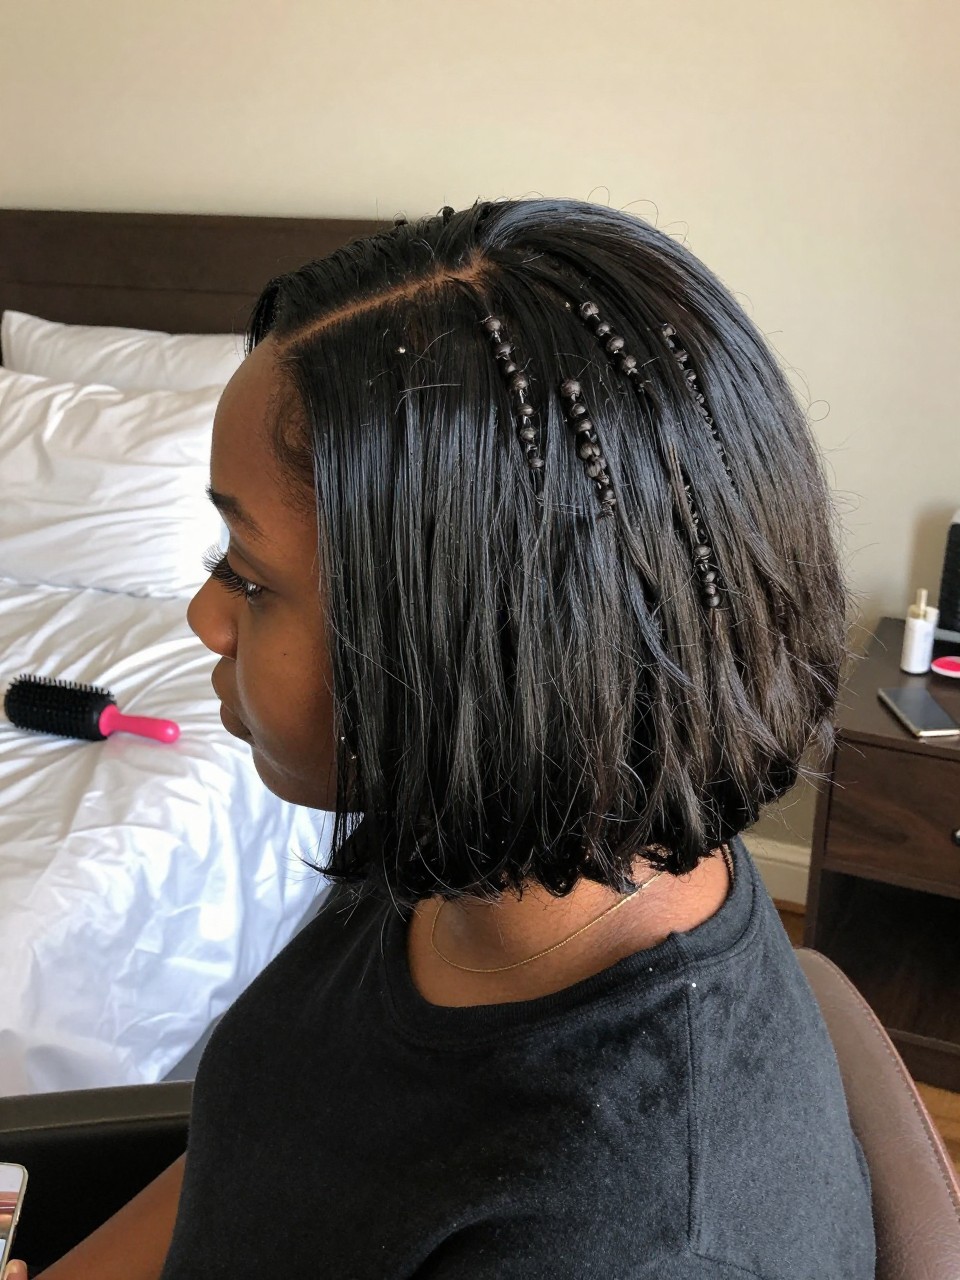
This is the style for when you want defined, bouncy curls without any heat damage. You set damp hair on flexi rods, let it dry (overnight is best), and wake up to uniform, springy curls that show off every layer. It is a bit of work the night before but zero work in the morning, and the results are always worth it.
What you need:
- Flexi rods (assorted sizes, smaller for tighter curls)
- Setting lotion or mousse
- Satin scarf or bonnet (to sleep in)
- Hair oil (for separating curls)
- Spray bottle (to dampen hair)
How to style it:
- Step 1: Start with damp hair and apply setting lotion or mousse throughout for hold.
- Step 2: Take small sections and roll them onto flexi rods, bending the ends to secure. Alternate directions for a natural look.
- Step 3: Cover with a satin scarf or bonnet and let hair dry completely (overnight is easiest).
- Step 4: Unravel carefully, separate curls with a tiny bit of oil on your fingers, and arrange the layers.
14. Textured Bob with Headband
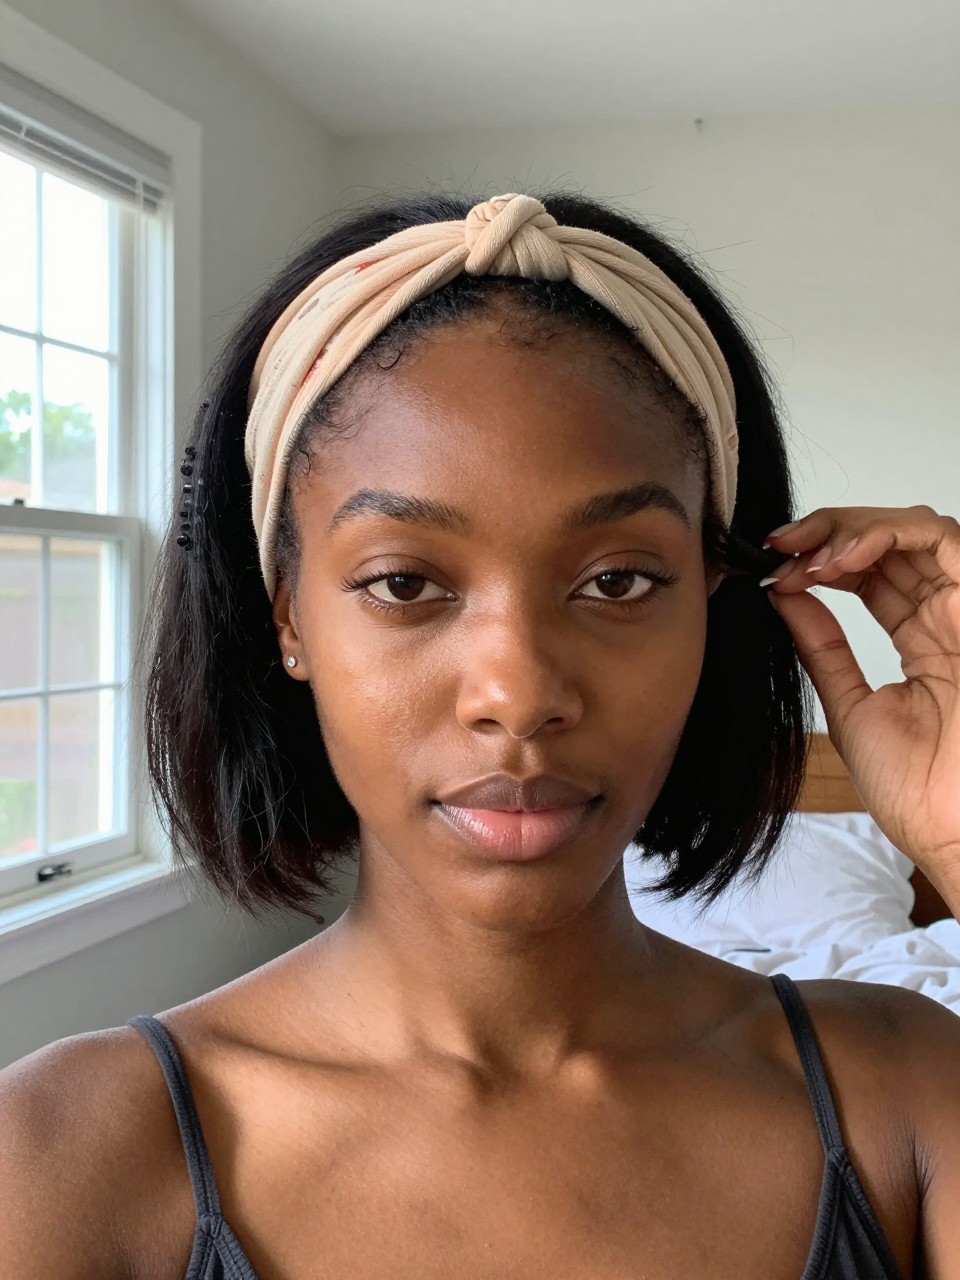
Sometimes the best accessory is a cute headband. This style takes your textured bob (whether curly, coily, or straightened) and adds a headband that pushes the hair back or sits across the forehead. It keeps hair out of your face, adds a pop of color or print, and makes a basic style look styled in seconds.
What you need:
- Wide headband (fabric, plastic, or knotted style)
- Edge control (for the hairline)
- Satin scarf (to lay edges first)
- Texturizing spray (optional, for volume)
How to style it:
- Step 1: If laying edges, apply edge control and tie down with a satin scarf for a few minutes first.
- Step 2: Place the headband over your head, positioning it either at your hairline or pushed back a bit.
- Step 3: Adjust the hair in front of and behind the headband so it sits naturally.
- Step 4: Fluff the rest of your bob behind the headband for volume and make sure the headband is secure.
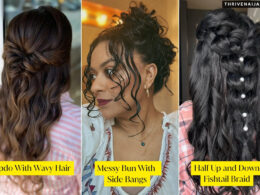
15. Bob with Twisted Front
This is a quick style that looks like you spent time but really took five minutes. You take the front sections (from your temples to your part) and twist them back, pinning them behind your ears or at the crown. It shows off the layers in the back, keeps hair off your face, and adds a little something extra to your regular bob.
What you need:
- Bobby pins (matching your hair color)
- Edge control (for sleekness)
- Curl cream (if twisting natural hair)
- Hairspray (light hold)
- Rat-tail comb (for parting)
How to style it:
- Step 1: Section off a triangle from your part down to each temple. Clip the rest back or leave it loose.
- Step 2: Apply edge control or curl cream to the sections and twist each one back away from your face.
- Step 3: Bring the twists to the back of your head and secure with bobby pins crossed in an X, tucking the ends under.
- Step 4: Fluff the loose bob hair and arrange the layers around the twists. Mist lightly with hairspray.