Table of Contents Show
Straightening natural hair is a big reason why many people have made the transition to go natural so they can prevent heat damage and keep their strands healthy. You have to start by thoroughly washing the hair with a shampoo and conditioner to make the straightening process easier. They are an excellent way to clean any build-up of the hair. Straightening dirty hair with a flat iron will only “cook” oil and dirt in, which will lead to more damage.
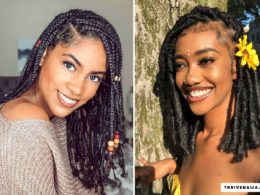
There are several methods to straighten natural hair that will leave you with amazing results. It does not matter if your hair is long or short, there are plenty of hair straightening products that will help you achieve a sleek and smooth look without damaging your natural hair.
Once your hair is clean, apply your preferable serum, spray, or cream. Allow your hair to air dry at least 50% before blow drying to minimize heat exposure and chances of getting your hair damaged. Don’t try to skip this step as it prepares your hair for the heat and prevents future damage or frizz. It also keeps your hair shiny and soft.
Now that your hair is ready, you can decide which option works best for you when it comes to what you want to flat iron your natural hair with.
Straightening Hair Without Causing Heat Damage
Another thing to consider is to know your hair texture, the products and tools you are to use, and whatever the weather is doing at the moment. The method that works well for your friend might not be right for you, everyone’s hair is different so experiment with the hair tools outlined below to find what works best for your hair.

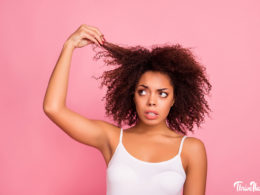
Tired of Natural Hair Breakage, Shrinkage & Tangles?
If your natural hair is always breaking, shrinking up, or taking forever to detangle, this ebook is for you. Learn simple ways to stop the damage and make wash days easier.
1. Blow Dryer
If you want to straighten your natural hair with a blow dryer, having the proper tools can make a difference with the finished results. Beginning at the end of your hair, move the dryer and brush together up toward the roots of the hair.
It is not a good idea to leave the hairdryer in one spot for too long. Doing so will damage the hair quickly. Rather, move at a medium pace, working each section until all the hair is dry.
Heated styling tools often damage the hair, so it’s important to protect it by applying a heat protectant. Heat protectants help reduce damage caused by heated styling tools, and always divide your hair into different parts and apply the protectant to each part.
The other must-have tool for straightening your hair with a blow dryer is a flat paddle brush if your hair is long enough otherwise a small tooth comb works just fine.
2. Use An Adjustable Temperature Tool
Without being able to control how hot your iron is, you won’t be able to adjust the heat according to your hair’s specific needs. Using too-high heat, even just once a week will still lead to dryness and damage.
Just because your iron heats up to 450 degrees, that doesn’t mean every part of your hair requires that much heat, you have to know what degree best works for your natural hair.
For women with natural hair, finding out that they have two or three different textures on one head may be a shock, but it’s not uncommon. Your crown area may be the curliest section, which would require high heat, but the hair on the sides of your head may be straighter, so turn the heat down when pressing that section to avoid getting your natural hair damage.
3. Make Use Of Rollers
The best way to use rollers is to apply them to wet hair. When it comes to finding the right rollers, it’s all about the texture of your hair and the look you’re going for. The thicker your hair, the bigger the roller should be.
How to use rollers to straighten your hair:
- Prep wet hair with a heat protectant and section it off.
- Roll up each section and secure rollers in place with pins if needed.
- Once you finish rolling your hair, let it air-dry or use a hood bonnet on low/medium heat for an hour. If your hair is on the thicker side, you might want to consider using a hood bonnet for the best results.
- Wait until your hair is completely dry before removing the rollers.
The best part about rollers is that you can use a flatiron or blow-dryer to straighten your hair even afterward. Regardless of which straightening approach you to decide on, make sure to wrap your hair with a satin or silk scarf before you go to bed. This will protect your newly smoothed strands from any friction while you sleep.
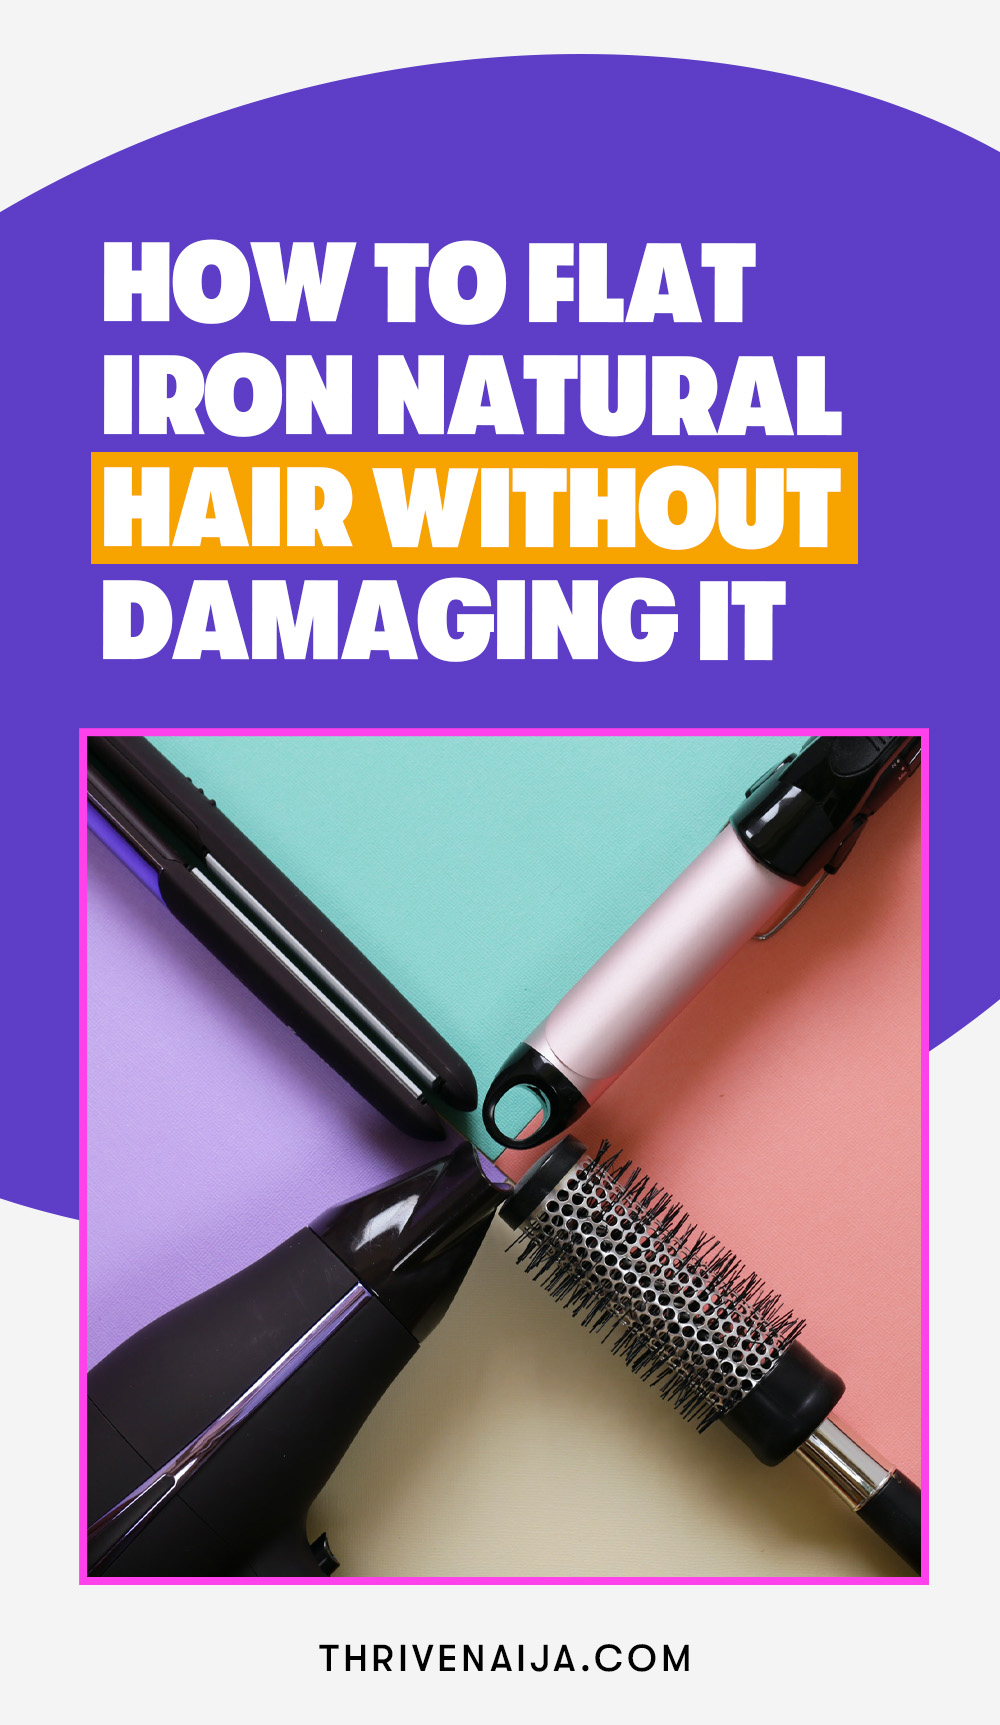
How to Flat Iron Natural Hair Without Damaging It
How to flat iron natural hair:
- Heat your iron, start dividing your hair into parts and apply your preferable protectant product.
- Grab a section and clamp the hair tool as close to the root as you can and gently glide it down the mid-lengths and ends.
- Go over each section once or twice more.
- Once you smell something getting burnt, do well to reduce the flat-iron temperature. You don’t want to fry your natural hair at this moment.
- After you’ve straightened every part, finish the look with your preferable hydrating serum.
- Apply oil, serum, or finishing sheen after flat ironing, for lasting shine and durability.
- Wrap or bun your flat ironed hair at night with a silk or satin scarf to keep it from becoming dry, or reverting due to night sweating. You can throw in a few Bantu knots, large cornrows, flat twists overnight for added texture and fun.
In Conclusion
Keep in mind that everyone’s hair isn’t the same. Whether your straightening routine works specifically for you is more important. However, if you know your curl pattern, hair type, and how damaged your hair is, you’re at a good starting point for knowing how often to straighten your natural hair.
While learning how to flat iron natural hair is a desire of many naturals, moderation is the key to making sure your hair comes out unscathed.